March 22, 2025, Saturday
✈️2 ~ 一看到這個就一直想要
✈️3 ~ 所以。。。
✈️4 ~ 就買了
✈️5 ~ 現在的這些,是在太容易了。
✈️6 ~ 這些都不需要自己切割
✈️7 ~ 貼紙也有各自的標籤
✈️8 ~ 木板也是預先切割好的
✈️9 ~ 雙面貼也是先切割好的,有短的,有長的。
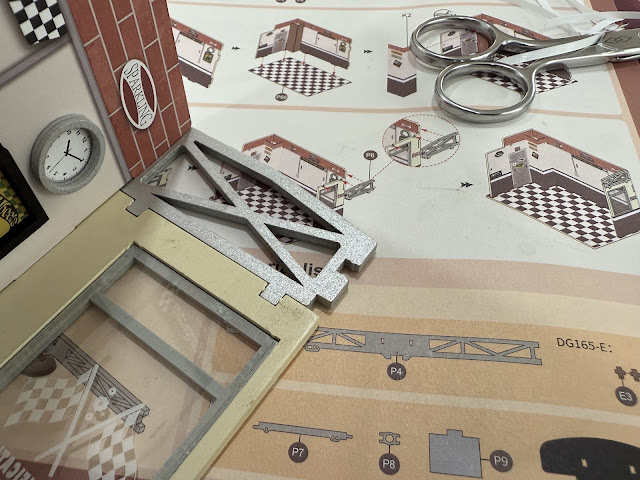
✈️10 ~ 跟著步驟紙來做這個窗口框架,貼上雙面貼。
✈️11 ~ 貼上“玻璃”窗口
✈️12 ~ 將窗口框架套上牆壁
✈️13 ~ 貼上窗口底下的壁紙
✈️14 ~ 還有危險標籤貼紙
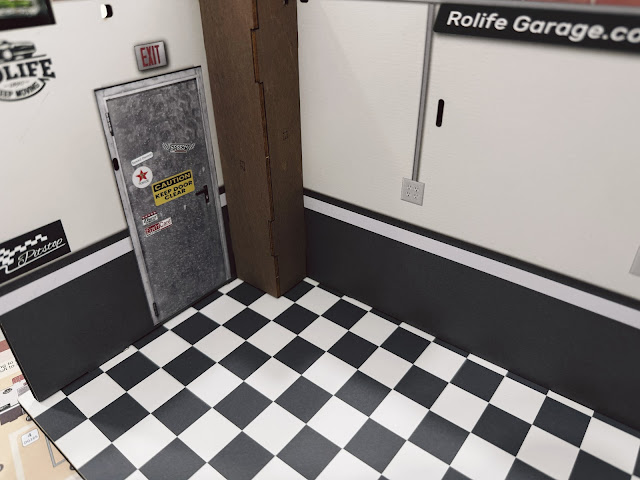
✈️15 ~ 接著是大牆壁
✈️16 ~ 牆壁上的畫和時鐘加上凸出的框架
✈️17 ~ 左邊的小牆壁
✈️18 ~ 結合起來
✈️19 ~ 就是這樣
✈️20 ~ 貼上壁紙
✈️21 ~ 右邊的小牆壁
✈️22 ~ 屋頂的框架
✈️23 ~ 燈的連結
✈️24 ~ 這裡後面裝著電池,把電燈的線連結到前面中間,還有貼上旗子。
✈️25 ~ 這個角度看旗子是這樣
✈️26 ~ 車庫的牌子
✈️27 ~ 來做裡面的小物品
✈️28 ~ 但是這個質量太差了,根本牢靠不住,我是調好位置再拍照的,它太容易鬆脫了。
✈️29 ~ 這個就比較牢固
✈️30 ~ 椅子也是不錯,但是鐵鎚就有點好笑,因為它上面長這樣,但是下面是平面的。
✈️31 ~ 紅色架子
✈️32 ~ 這個比之前的抽屜堅固許多,但也沒有太好。
✈️33 ~ 樓梯是很特別的
✈️34 ~ 這個是不錯
✈️35 ~ 這個是外表而已
✈️36 ~ 抽屜是拉不出來的
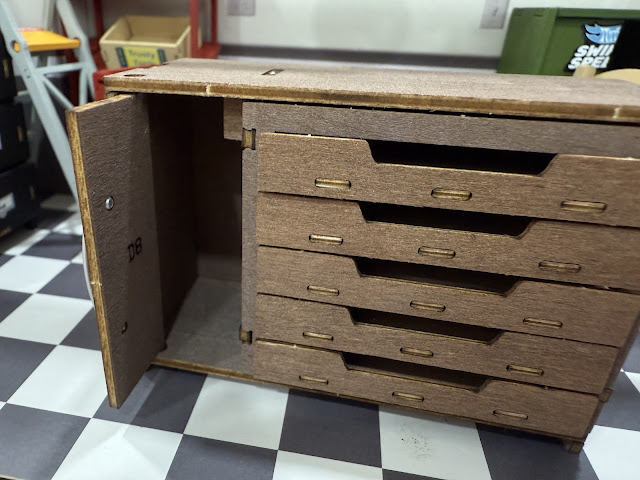
✈️37 ~ 這個真的是一個櫥櫃
✈️38 ~ 中間是有間隔的,是真的可以放東西的。
✈️39 ~ 這個是真的扁抽屜
✈️40 ~ 旁邊小門也是可以打開
✈️41 ~ 抽屜是像這樣
✈️42 ~ 這個是放在裡面隨便放的工具
✈️43 ~ 架子
✈️44 ~ 在牆壁的工具,但是這個也不牢靠,很容易鬆脫下來。
✈️45 ~ 小心防滑牌子
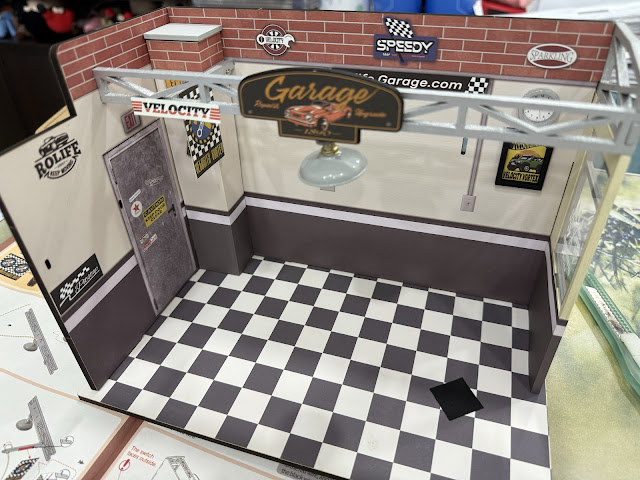
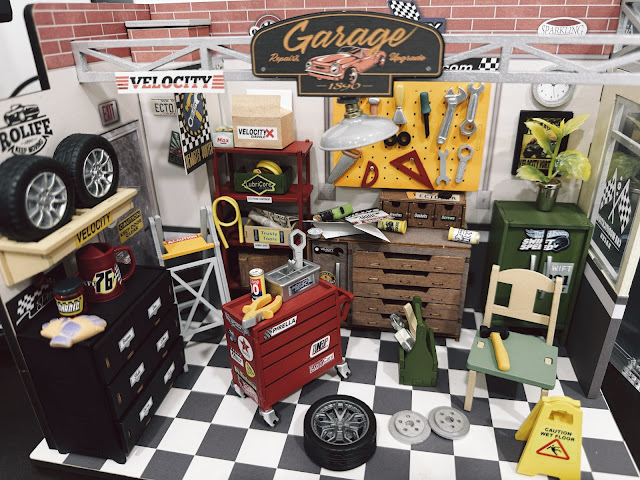
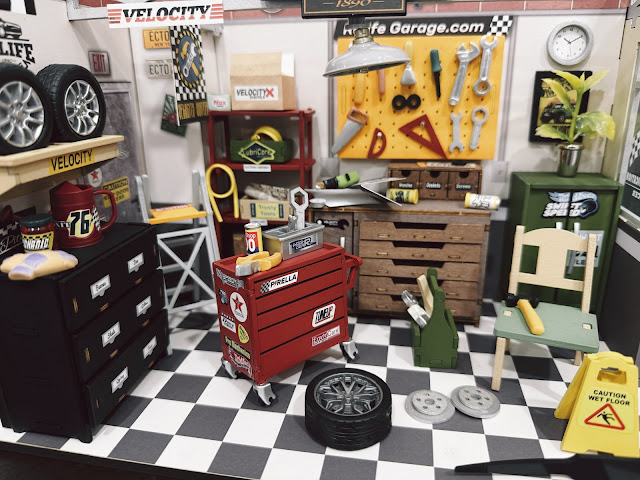
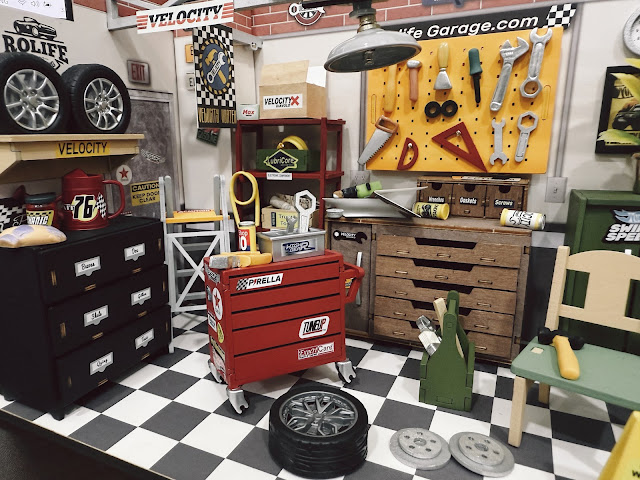
✈️46 ~ 整體好了
✈️47 ~ 總結來說這個比以前是簡單多了
✈️48 ~ 沒有那麼多剪貼
✈️49 ~ 但是不是每一樣都很堅固
✈️50 ~ 右邊那個花瓶一直站不穩,會自己不停的掉下來
✈️51 ~ 相比我以前沒有做完那個相比,這個是簡單得多,但是還是有待進步的空間的。












No comments:
Post a Comment